Export your BOQ
to Excel.
A takeoff that lives only in a browser is half a takeoff. Here is the structure of the Excel BOQ and how to get it into the system you already estimate in.
One click to a clean file
When a takeoff is done, the BOQ table has a download control that hands you an Excel file. It is the same quantities you reviewed on screen — counts, length in LF, area in SF, organized by material line — now in a spreadsheet you can sort, filter, and feed into your pricing.
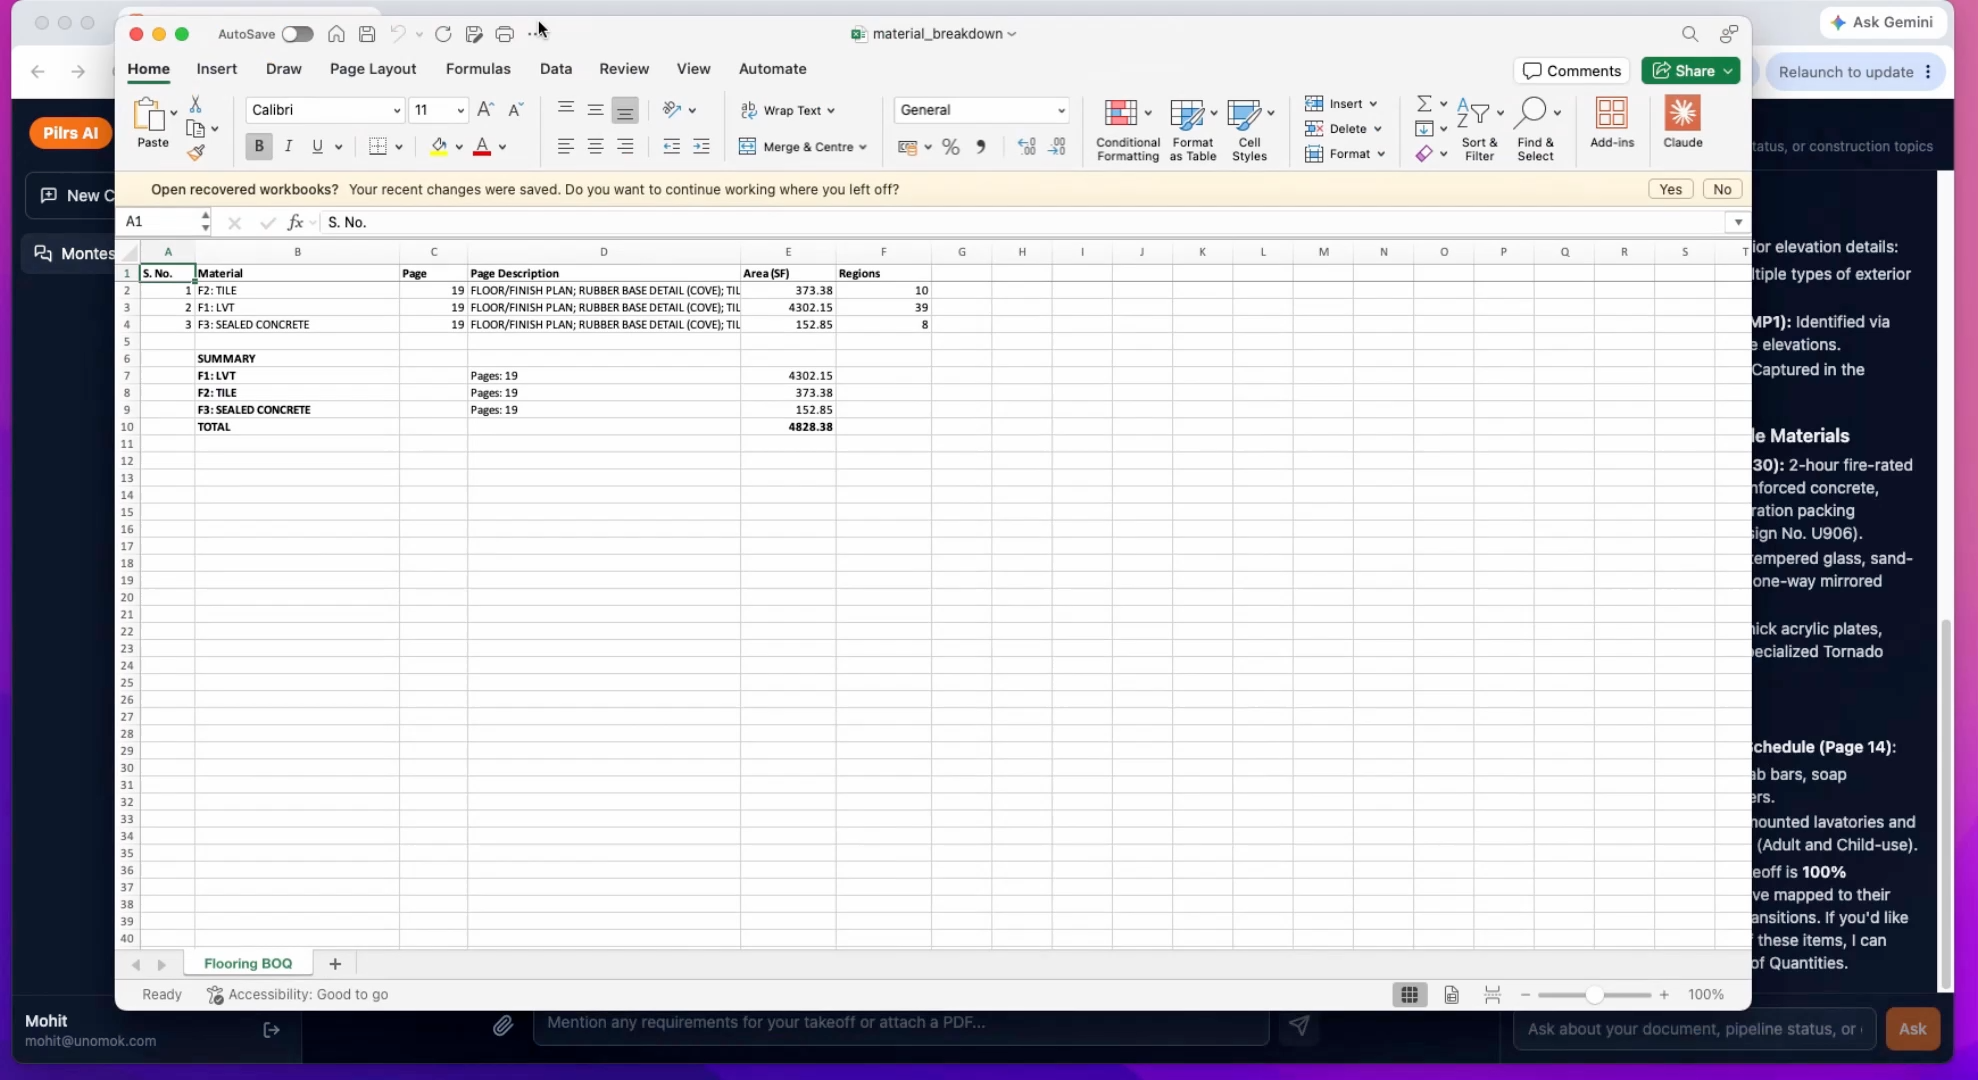
What the Excel BOQ contains
Each row is a material line item, the way an estimator expects to receive it:
- Description — the assembly or component, e.g. 25-gauge metal stud and track at a given size, an insulation type, or a board line.
- Count — discrete pieces where that is the right unit.
- Length (LF) — linear feet for runs of stud, track and wall.
- Area (SF) — square feet for board and insulation, derived from length and wall height.
Because the units are already split into count, LF and SF, you are not reverse-engineering a single blended number — each column lines up with how you cost that material.
Step by step
- Finish and review the takeoff so the BOQ on screen reflects the right wall types.
- Click the Excel download on the BOQ table. The file saves with the quantities exactly as shown.
- Open it and check the headers. Confirm the description, count, LF and SF columns came through and rows are grouped by material line.
- Map to your cost codes. Add a column that ties each description to your internal cost code or assembly so pricing is repeatable.
- Import or paste into your estimating system. Most systems take an Excel paste of description plus quantity plus unit; the BOQ is already in that shape.
Getting it into your estimating system
The goal is to keep the quantities as the single source and let your system own the rates. Two reliable approaches: paste the BOQ columns straight into your estimate template and let your formulas apply unit costs, or import the Excel file if your system supports a mapped import. Either way, keep the original Pilars export untouched as your audit trail — if a number is ever questioned, you can trace it back to the wall overlay that produced it.
Pro tips
- Keep the raw Pilars export as-is and do your pricing in a copy, so you always have a clean quantity record.
- Add a cost-code column once and reuse it as a lookup across projects — it turns each export into a fast price.
- Filter by wall type before pricing to confirm the rated assemblies carry their correct, more expensive lines.
- If your system imports by unit, split the paste by LF rows and SF rows so units never get crossed.
Frequently asked
What format does Pilars export?
An Excel file containing the same BOQ you reviewed on screen — material lines with count, length in LF and area in SF.
How do I get the BOQ into my estimating software?
Paste the description and quantity columns into your estimate template and let your formulas apply rates, or use a mapped import if your system supports one. Keep the original export as an audit trail.
Are the units already separated?
Yes. Count, LF and SF are separate columns, so each lines up with how you cost that material rather than a single blended figure.
— Keep going